Tag Archives: cloth company

patchwork to work

This is the chair we bought on Craig’s List a lot of years ago.
It was pretty ratty even then, so you can imagine what ten years of living has done to it.  I won’t qualify that with ‘living with two boys’ because it’s just living that has worn it to a fray, not a particular gender’s style of living (though we will never forget the Sharpie Sleepover incident, which ruined a perfectly good Pottery Barn canvas duck slipcover that had at least another ten years in it, and possibly, (maybe?) was related to the sex of the sharpie owner?)

My mother would have made a muslin mock up, stitched the whole thing together, and then taken it apart to use as pattern pieces.  But remember, I am committed to keeping this simple. No muslin patterns. No piping. No zippers.  Here is the near-trapezoid that I pieced for the armchair’s cushion.  It is laid on paper, which will be cut to use as a pattern to cut the fabric for the back of the cushion (which will not be pieced).
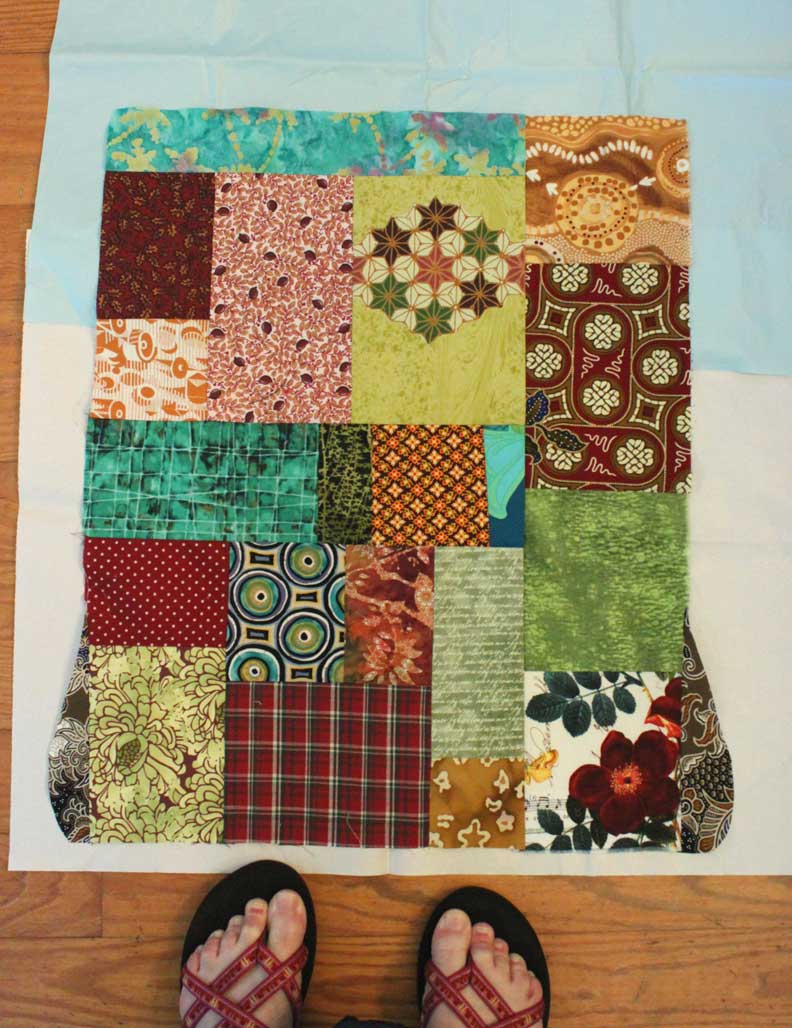
I pieced this section laying the fabric directly on the cushion, which made it very easy for my simple brain to see what kind of allowances I needed, and how the pieced sashing would line up with the top. Here is the sashing, pinned in place.
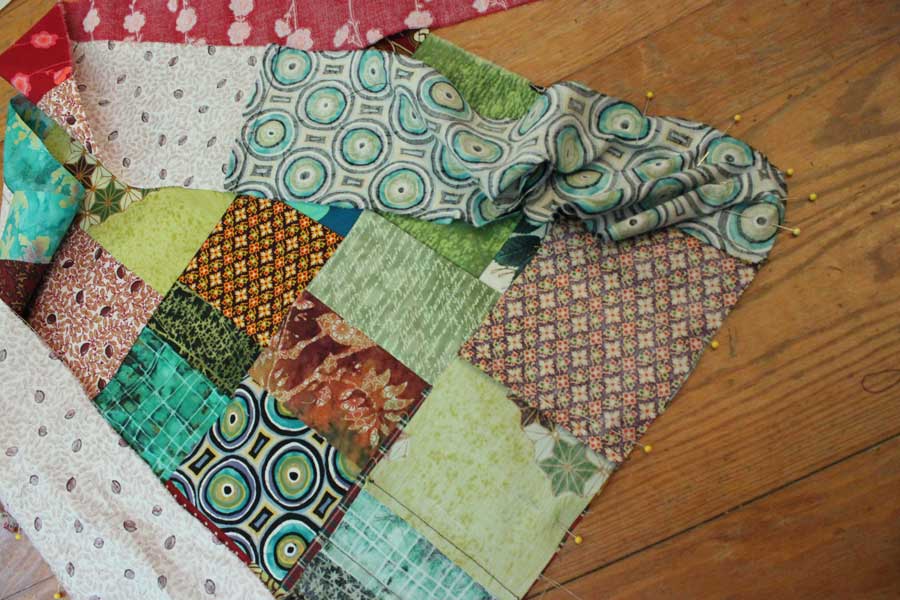
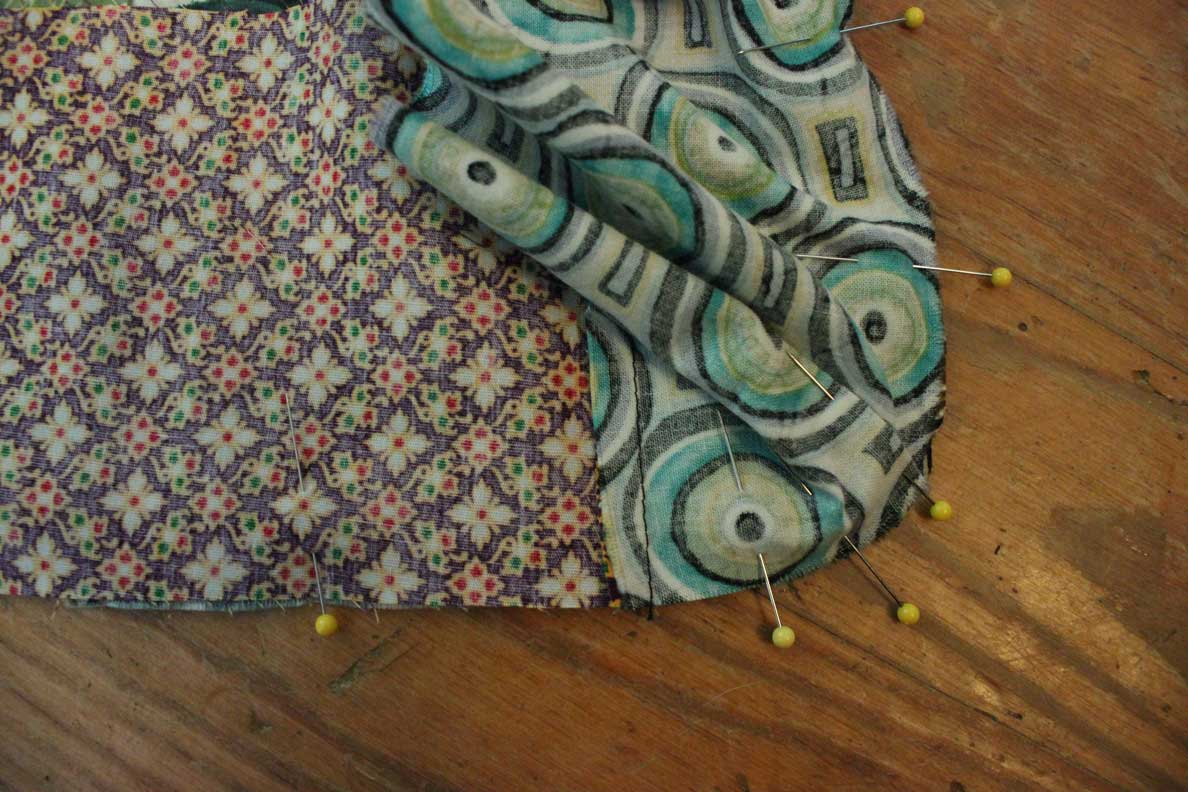
A small pleat is necessary, even at the curved corners.
The back to the cushion cover will be in two sections, so as to allow the insertion of the seat.
Here is a temporary chair back  — a quilt-in-progress that was folded up nearby.
Although I am open to using pieced sections in ways other than originally intended, I think this one will still be finished as a wall quilt — another installment in the “Global Warming Series”.  I want the back of the chair to use the same fabrics as the cushion.  Given my lack of upholstery experience, these next areas will surely be jerry-rigged!

After snapping the Craig’s List chair picture, I walked into the other room, and saw a “Middle Passage” work-in-progress serving as a temporary chair back.  Happens all the time, and we have all been stuck with pins more than once!
cotton pants

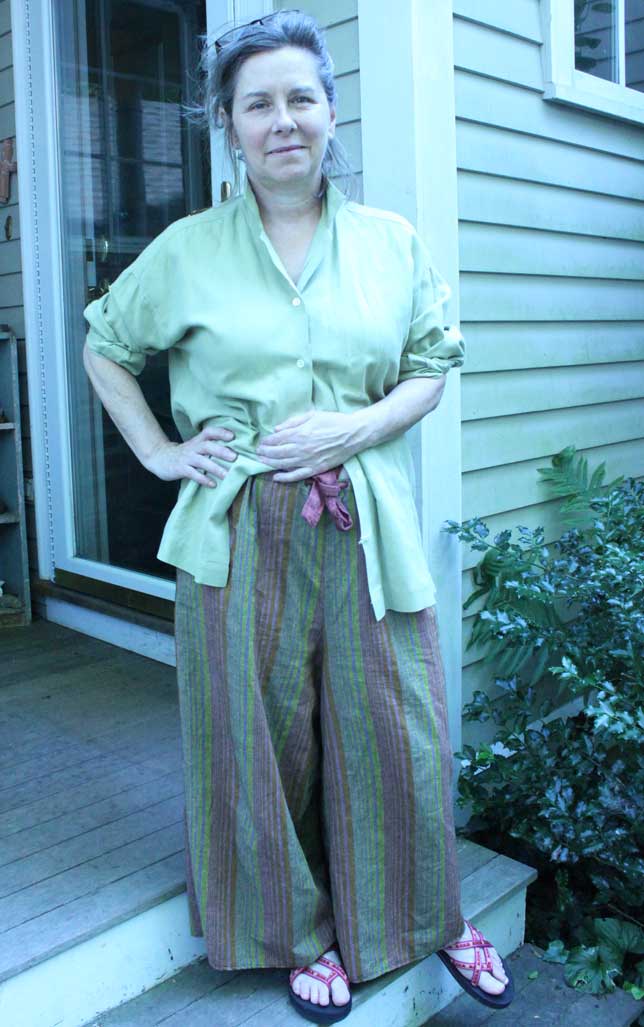
First, there were SEVENTY t-shirts in the duvet cover.  And, quickly, rushing, but as promised, here are the pants I made:

Picture not the best, but you can see the fullness of the leg, the nice drape.  I used leftover sashing from the duvet cover to make the tie.

My one mistake was to sew the casing closed prior to making the buttonholes.  Next time: make buttonholes first! Then sew casing shut.

And, BTW, I had a Linen Bonanza at my favorite thrift store a couple of days ago.  This top was found then.

Japanese bag

This simple and beautiful bag was the inspiration for the two-quilt-messenger bag that I made last week (below).

It is constructed from three pieces – the front, the back, and a single side piece.  Each component has a blue face with a red backing.

The side panel does not come all the way up to the uppermost edges, in order to leave room for a casing, which houses the blue cord pull-ties.  The casing is just a gap between the red lining and the blue front, with two lines of stitching to define.
Because you seam the finished components wrong sides together, there is no need to leave an opening in the final construction phase in order to reverse, the way many bag patterns require.  By using the red contrasting fabric for the inside of each of the three pieces, and making no attempt to hide any seams, a beautiful line of color is created – very much like piping.

The ties are long.  Each of the two loops exit on opposite sides, so that when you pull the ties, the loop that is inside the casing opposite, tugs closed.  It’s a simple and elegant design, through and through.

I thought of this bag as I was pulling the next two quilts out of a drawer during my three weeks of purse sewing.
About 14 inches square, these two panels were a good size for a messenger bag, or what I’m calling a messenger bag.  A true messenger bag would have a fold-over flap.
I realized that once I removed the dowel sleeves, I had two of the three pieces of the model Japanese bag.  I constructed a blue strap with finished edges that was long enough to run around three sides of the bag and then up and over the shoulder (14 inches x 3 plus about 35 inches).  I included enough length to make a loop on one end that the other end would tie into, so as to make the strap adjustable.

20120523-170341.jpg

I also added a good-sized lined pocket on the wrong side of one of the quilts.
The project made me happy for a couple of reasons.  One, it put to good use some quilts I was not crazy about as wall hangings (I love them as purse panels, though!!).  I did six of these, so I can make two more bags.  I sold this one on Sunday.  I think I will select a handle/side & bottom fabric that is much tougher than the one above, so that the bag could carry the weight of a lap top – it’s the perfect size.  Two, I was very proud of myself for figuring out how to borrow some of the construction methods of a long-admired bag.*

P.S. While sewing mine together, I realized that the curved edges were critical to the design of the indigo bag.  I had to stop my side panel seams just short of each corner, leaving four holes that I then hand sewed.  I didn’t really want to cut the 14″ x 14″ quilted panel – doing so would have wrecked the bound edge and posed a different construction problem.

20120523-170329.jpg

*  I bought this bag from a couple who made a wide variety of useful objects out of beautiful Japanese indigo cloth many years ago at a huge holiday craft fair held at Boston’s Seaport World Trade Center.  I have no name to share with you, I’m afraid!!

pins in my mouth and on my lap

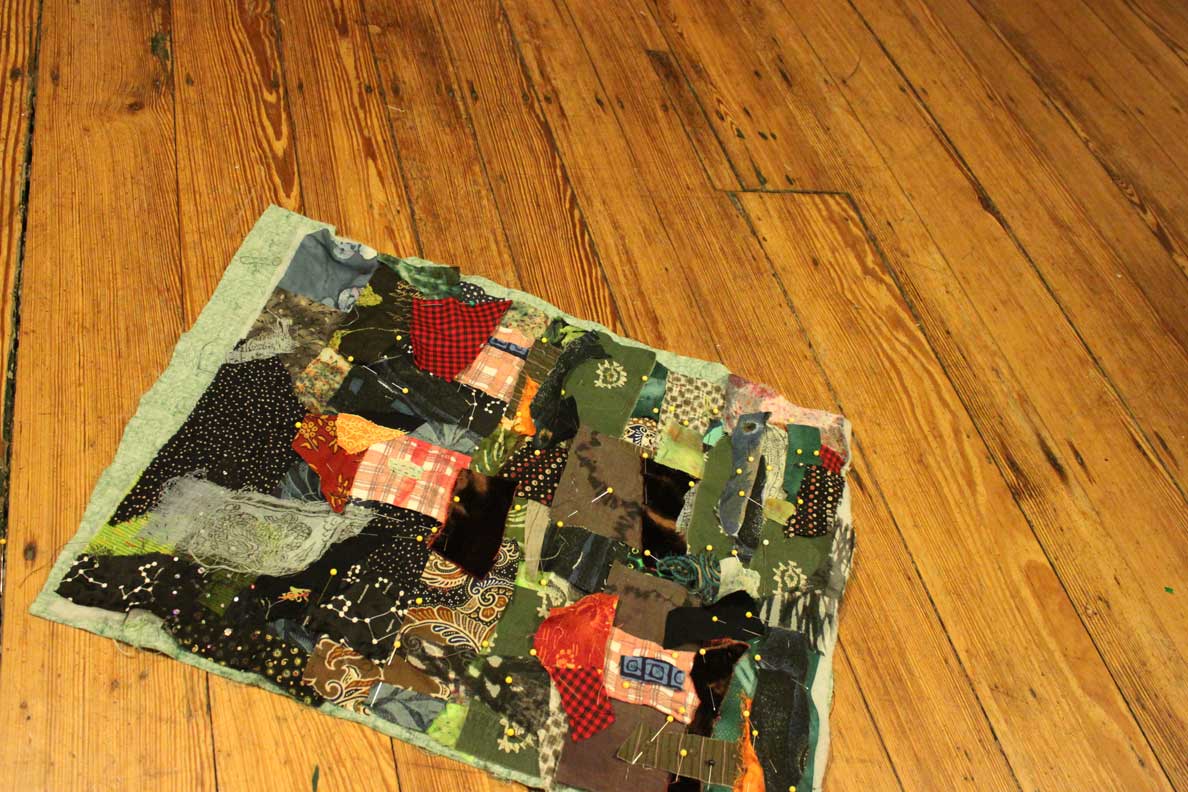
Pinned this little piece up yesterday.

Took it to the Reggie Lewis Athletic Center and quilted a little during the four hour wait for C’s 4×400 relay.

It may be an exercise in frustration.  No glue, no tulle, no basting —  just me and my lazy girl pin job.

My strategy is to work the places that can easily be worked first, always making sure that where pieces meet, the fabric will lie down properly.  Pretty much means working edges inward.  It helps to have two needles going, sometimes.

I am doing a combination of folded-under applique and raw-edged.  Probably, with the possible exception of that red velvet, this quilt will be entirely hand-quilted.

You may remember this bleached red plaid from the Happy Hut Quilt that I made for D. (that red plaid flannel was used, one December not long ago, to make his pj bottoms – a traditional Christmas Eve gift in this house (though I will admit to buying the pants in the last couple of years)).

I finished that quilt, by the way (above).  The Ghost House version is in a lull.  Down in the cold, cold basement on a pinboard.  It will wait.